Using "Tags" in PlexMap
Tags help improve clarity in the PlexMap backend. You can assign tags to various elements such as layers, switchboards, and views. This makes filtering and project-related navigation in the backend much easier and more efficient.
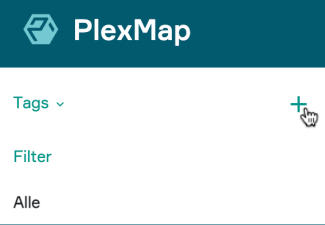
You can use tags in the backend components "Switchboard," "Layer," and "Views" in the upper left corner of the application (below the PlexMap icon). You can create new tags by clicking the "+" icon. You can view existing tags using the small arrow to the right of "Tags."
When you open all tags using the small arrow, the tags you have created yourself are displayed first. Then, the system tags appear. These are automatically assigned to layers, views, and switchboards by the system during certain operations (e.g., during a direct depot import or export without a dedicated switchboard). If you now click on a tag, the current view is automatically filtered by operations that were previously tagged with the clicked tag.
To create a new tag, you must be logged in to the system as a PlexMap administrator. Now, in the Switchboard, Layer, or View view, click the plus symbol to the right of the word "Tags." This will open the Tag Editor. Here you can specify the name, color, and icon for the new tag. Once you've finished entering the desired settings, simply click "Create" to create the tag.
Assign Tags via settings Anchor
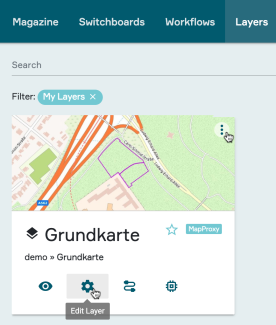
In table or tile view, in the PlexMap components "Switchboard," "Layer," and "Views," you can open settings for the respective entry using the three-dot menu. Alternatively, in tile view, you can also do this by clicking the gear icon.
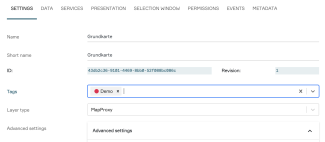
After clicking "Settings," a pop-up window opens. Here, you can select one or more tags in the "Tags" section of the "Settings" tab and assign them to the backend element. Tags are selected via a drop-down menu.
You can speed up the search for the appropriate tag by entering text in the "No tags selected" area. The figure illustrates the process using the layer settings as an example.
After selecting one or more tags, they will appear in the "Tags" section at the top left of the PlexMap backend (here: "Demo," "Services," and "Features"). The tags are also visible in the table view in the "ID" column.
If the assigned tags are not immediately visible, please refresh the current browser tab.
Assign Tags via table view Anchor
In the table view of the backend components "Switchboards," "Layer," and "Views," you can select the "Tag Element" option by selecting one or more elements using the checkbox on the far left in each row of the table. After making your selection, a "xy Elements Selected" button appears in the top right corner. Clicking this button opens a submenu where you can select the "Tag Element" option. A pop-up window appears in which you can select the desired tag(s).
Confirm your selection by clicking the "Add Tag" button, and the selected entries are now "tagged."
How to pin a Tag Anchor
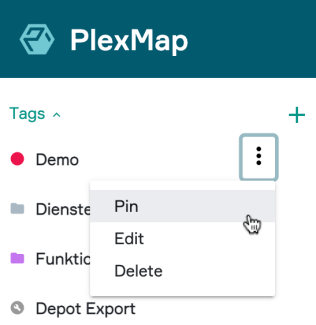
To create a clear view of tags that are particularly relevant to you, you can use the "Pin" function. You can access this via the three-dot menu to the right of each tag (see figure).


