PlexMap Viewer
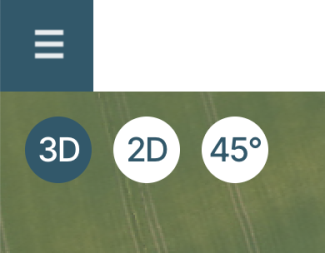
Depending on the licensed scope, the PlexMap Viewer offers you up to four different viewer modes:
- PlexMap 3D: display of three-dimensional geodata (e.g. a 3D city model)
- PlexMap 2D: display of two-dimensional geodata (e.g. a development plan)
- PlexMap Oblique: display of oblique aerial images
- PlexMap Street360°: display of street view images (360° panoramas).
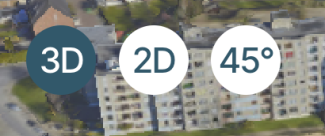
To switch between viewer modes, use the mode switcher.
All functions and tools available in the PlexMap viewer are described below. Please note that not all functions and tools are available in every map application.
1. Mode Switcher Anchor
2.1 Navigation in 2D mode Anchor
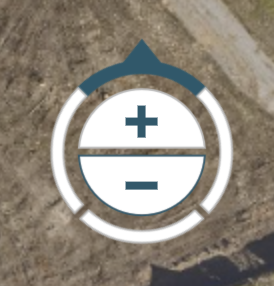
The orientation of the map can be changed by rotating the compass rose. Double-clicking on the tip of the compass rose causes the map to be aligned to the north.
Tip: Press the "N" key on your keyboard to align the map to the north.
By pressing and dragging the left mouse button (pan) you can move the map section. By turning the mouse wheel you zoom in the map. Alternatively you can use the plus/minus buttons or the plus/minus keys on your keyboard.
With a left mouse click on individual objects in the map, you can query them for the stored information.
2.2 Navigation in 3D mode Anchor
The orientation of the map can be changed by rotating the compass rose. Double-clicking on the tip of the compass rose causes the map to be aligned to the north.
Tip: Press the "N" key on your keyboard to align the map to the north.
By pressing and dragging the left mouse button (pan) you can move the map section. By turning the mouse wheel you zoom in the map. Alternatively, you can use the plus/minus buttons or the plus/minus keys on your keyboard. If you keep the right mouse button pressed, you can rotate in the 3D map.
With a left mouse click on single objects in the map, you can query them for the stored information.
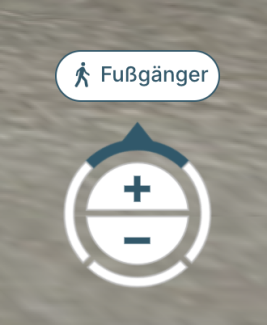
If you zoom in very close to the displayed 3D surface, an additional icon for the pedestrian mode appears. Click on the icon to switch to pedestrian mode. You can now move "on foot" through the 3D model using the arrow keys on your keyboard. Press the "Exit" button or turn the mouse wheel back to exit the pedestrian mode again.
2.3 Navigation in oblique mode Anchor
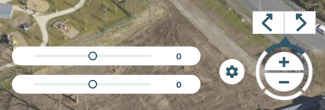
The viewing direction can be changed in the oblique aerial images by rotating the compass rose or by a mouse click on one of the two arrow keys. One oblique aerial image is available for each cardinal direction.
Double-clicking on the tip of the compass rose causes the map to be oriented towards the north.
Tip: Press the "N" key on your keyboard to align the map to the north.
By pressing and dragging the left mouse button you can move the map section. By turning the mouse wheel you zoom in the map. Alternatively you can use the plus/minus buttons.
With a left mouse click on objects displayed in the map, you can query them for the stored information.
Under the "Settings" icon you can reach controls for changing the brightness and contrast of the oblique aerial images.
2.4 Navigation in 360° panoramas Anchor
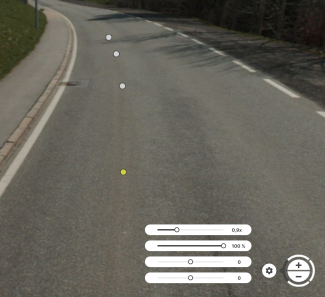
Spherical panoramas are displayed as small spheres in the street space within the 3D mode. Click on one of the spheres to jump to the 360° mode.
The viewing direction within the 360° image can be changed by rotating the compass rose. Double-clicking on the tip of the compass rose causes the map to be oriented towards the north.
Tip: Press the "N" key on your keyboard to align the map to the north.
By pressing and dragging the left mouse button (pan) you can move the 360° image. By turning the mouse wheel you zoom in the 360° image. Alternatively, you can use the plus/minus buttons or the plus/minus keys on your keyboard.
The next available 360° images are displayed in the currently displayed image. Click on a white dot to jump to the next 360° image. Alternatively, you can use the arrow keys on your keyboard for this.
Under the "Settings" icon you can reach controls for changing the brightness, contrast and transparency of the 360° images. In addition, you'll find a slider here to zoom in on the images.
Turn your mouse wheel back to exit the 360° mode.
3. Attribution Anchor
4. Points of Interest (POI) Anchor
Points of Interest can be shown on a map as a list of interesting places and points of interest. Click on a name to jump to that POI.
In some map applications you can also find interactive flight tours here, which you can start with the play button.
5. Layer Tree Anchor
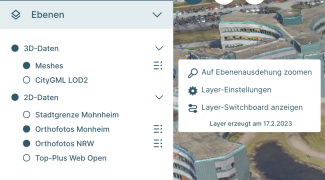
The layer tree lists all map layers that are available in a map. Click on a layer to turn it on and off.
To the right of the layer name you will usually find a hamburger menu. Click this icon to reach the layer context menu. Here you can find at least the function "Layer Extent", which allows you to zoom to the maximum spatial extent of the selected layer. Additionally, further information about the selected layer may be available here. For some layers, the date on which the selected layer was created is also displayed here. If you are logged in to PlexMap as a user, you can also access the layer switchboard and layer settings here.
Thematically similar layers are often grouped into layergroups. Click the small arrow icon to the right of the layer group name to open or close the group.
6. Search Anchor
You can search for addresses and geo-coordinates in the search line by entering text. Depending on the configuration of the map used, it is also possible to search for city districts or points of interest, for example.
If no search function is displayed, no address search is possible in the map you are using.
7. Sidebar/Hamburger menu Anchor
The left sidebar can be collapsed and expanded by clicking on the hamburger menu.
Some map applications are configured so that the left sidebar is collapsed when the application is first loaded.
If the sidebar is open, you will find a search bar, the layer tree and the listed points of interest here, depending on the configuration of the map.
8. Logo Anchor
9. My position Anchor
Click on this icon to jump directly to your current location.
GPS is used to determine your location if you are using a mobile device. If you are using a PC, the system will jump to your Internet access point. Please note that your internet access point is not your current location in all cases.
To use this feature, you must allow location detection in your browser settings.
10. Show in full screen Anchor
11. Share map section Anchor
12. Print Anchor
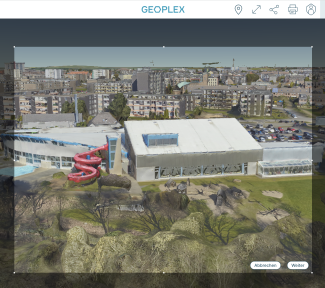
To enlarge or reduce the print area, drag the white corner points of the displayed rectangle in the desired direction.
To move the map section, hold down the left mouse button and then move the map view.
Click the "Next" button to open the print preview in the next step.
Click the "Cancel" button to exit the print function.
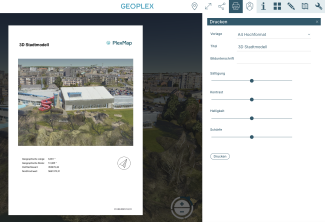
The print menu offers various settings to individualize your print.
Via the drop-down menu "Template" the formats DIN A4 and DIN A3 in portrait as well as landscape format are available for the layout of your print.
Via a text input in the area "Title" you can set an individual title for your print. Via a text input in the area "Caption" you can define a text that will be displayed under the displayed map section.
Via the displayed sliders you can adjust saturation, contrast, brightness and sharpness of the image.
13. User account Anchor
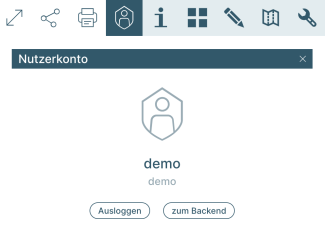
Users registered in PlexMap can log in and out of the system here. Depending on the permissions users have, they can also log into the backend from here.
If you do not have a user account and do not want to use the PlexMap Planner or the PlexMap Backend, you can ignore this function. Otherwise, please contact the PlexMap administrator in your employer.
14. Selection Anchor
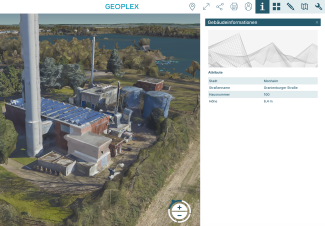
Once you have clicked on an object, the query window opens on the right side of the viewer. Depending on the configuration of the map you are using, different information is available here.
Note: The last map selection remains under the i-button, even if you have used a viewer tool in between, for example.
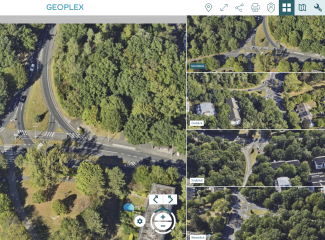
15. Show all oblique aerial images Anchor
Here, all four recording directions of the oblique aerial images are shown simultaneously, one below the other. The currently selected map section also remains in the main window.
If you navigate in the main window, the four images of the Quad-View follow this navigation. A mouse click on one of the images in the Quad-View will open this image in the main window.
Notes: The Quad-View can be activated in all available viewer modes. For example, you can also view oblique aerial images from the 2D mode.
The Quad-View is only available if the map you are using contains oblique aerial images.
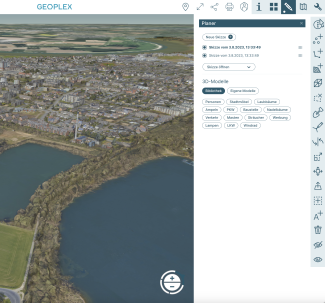
16. PlexMap Planner Anchor
To open the PlexMap planner, click on the pencil icon. The planner will now open on the right side of the map application.
A comprehensive description of the PlexMap Planner can be found here.
Note: You need a valid PlexMap account to use the PlexMap Planner.
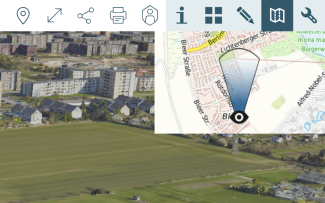
17. Show overview Map Anchor
18. Toolbox Anchor
By clicking on the wrench icon, the available tools will open on the right edge of the map.
The selection of available tools differs depending on the viewer mode and on the design of the map application you are using.
The functionality of all tools available in PlexMap is explained here.

